Flower Pressing
Date
Introduction
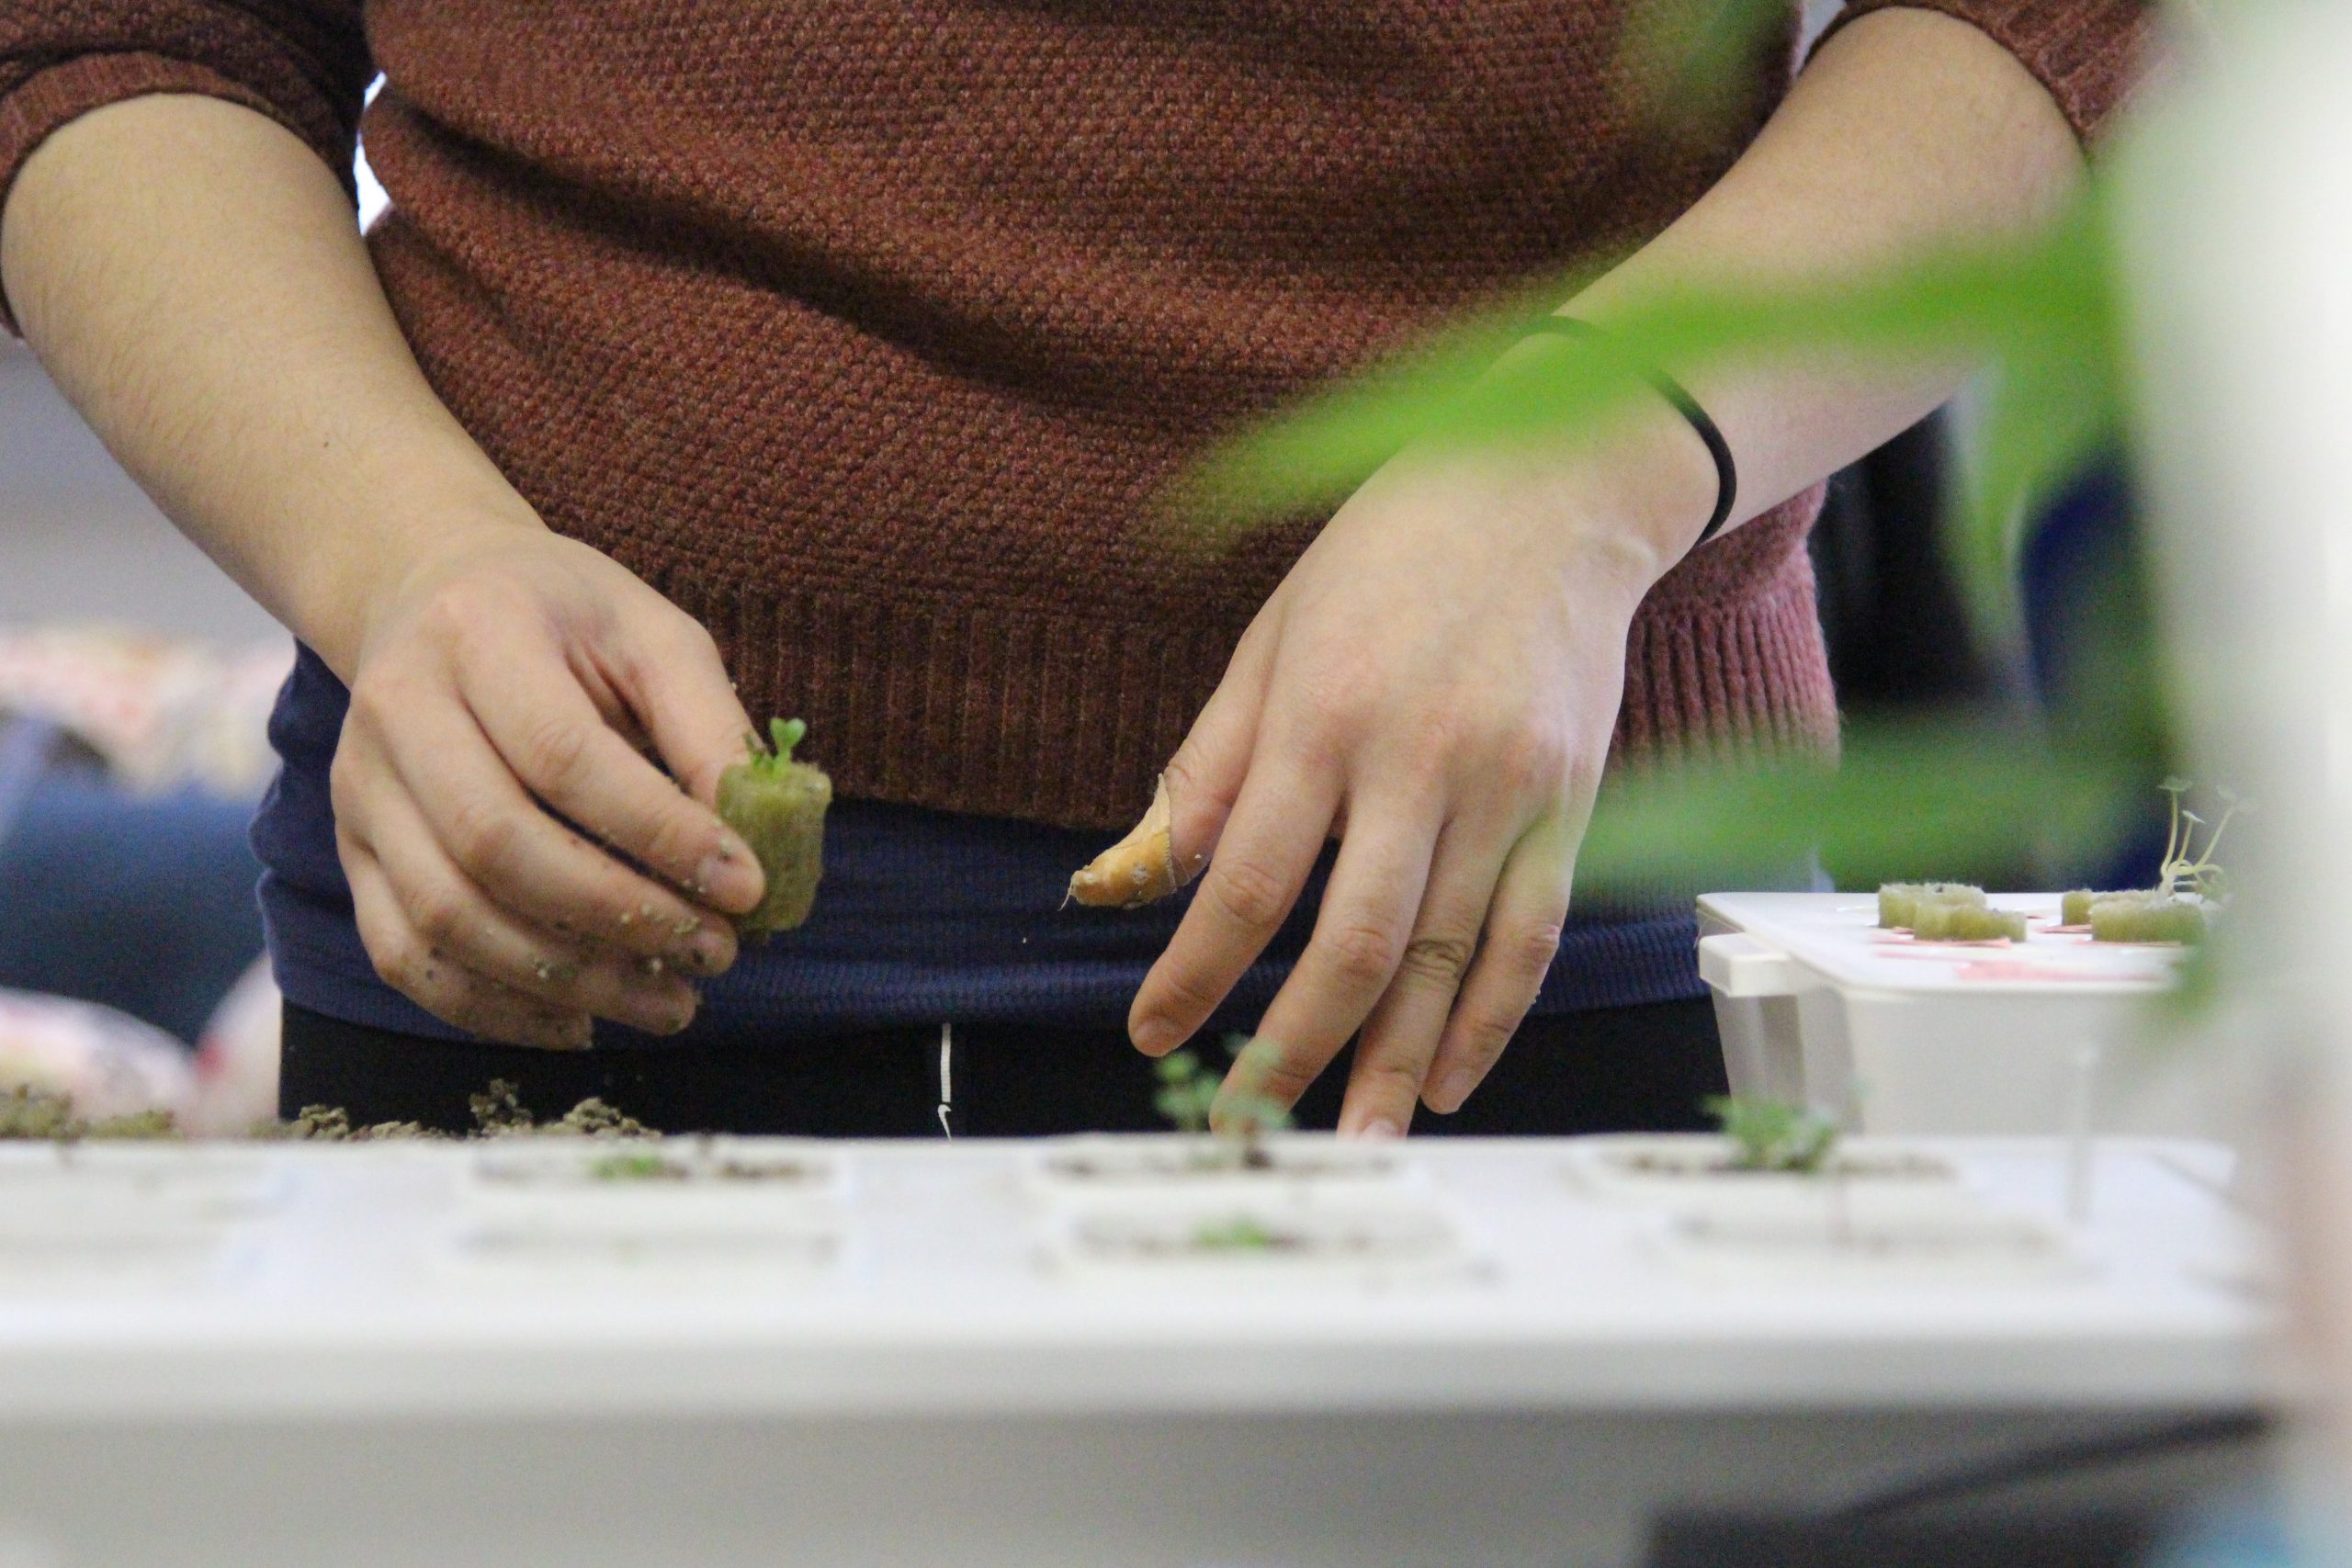
Hello there, and welcome to my very own blog series, Sprowt Shouts! My name is Sprowt and for my very first blog post today, I’m going to teach you how to press flowers and any plants that you’ve grown in your indoorGreens hydroponics systems. What’s flower pressing anyway? Have no fear, as I will bring you through the reasons why people press flowers and give you all the steps that you’ll need to get started on this journey. Let’s go!
What is flower pressing?
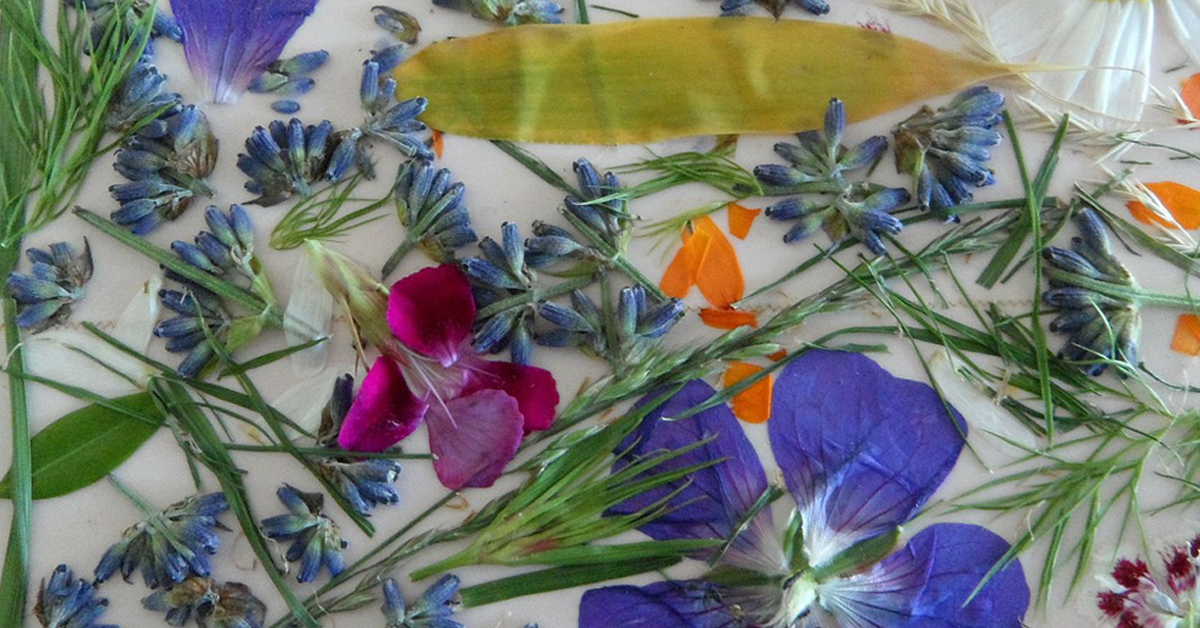
Pressed flowers are made when flowers are laid out and pressed flat using a variety of methods. These flowers can be preserved for a long time as they dry out during the pressing process, and they also mostly retain their vibrant colours. Some flowers are easier to press than others, so you can experiment with different kinds of flowers and pressing techniques to find out what works best for you.
Next, let’s take a look at some reasons why people choose to press flowers:
For sentimental reasons. People often press flowers from bouquets that they received during important moments of their lives, or from people they love and treasure. Because these flowers are a memento of your precious memories, pressing flowers can be a great way to keep them in your life instead of watching them wither away.
For decoration. Pressed flowers which are framed or cast in resin add a unique floral element to your home and office environments. Proudly display your flowers on a shelf or your desk where everyone can admire them. Feel free to bring your own pressed flowers to EPIC Workshops’ flower resin crafting workshop or 2-in-1 candle making workshop and use them in your crafts!
For educational purposes. Start your own herbarium sheet collection today! Learn all about the plants you press and write down the scientific facts next to actual samples of the plant parts which you can use glue to mount onto cards. Pressing plants helps to preserve them wonderfully and ensures that they are still recognisable even many years later.
Of course, if your reason isn’t listed above, it doesn’t mean you can’t press flowers! Whatever your reason may be, I’m sure that pressing flowers can be a fun project for you to try, either as a solo activity or with your friends and family.
A guide to pressing your own flowers
Let’s start by taking a look at how you should be selecting suitable flowers and plant parts to press. I definitely recommend choosing brightly-coloured flowers that have just freshly bloomed. You want the flowers and leaves to be as dry as possible, so cut them in the morning when the dew has already evaporated. If you’re getting your plants from outdoors, make sure it hasn’t recently rained or they would be too wet and may turn mouldy. On a side-note, make sure that you’re not picking your flowers from public areas, as all plants on Singapore’s state land are protected by law. Go for flowers with flat faces such as pansies as they are easier to press, but you can also cut thicker blossoms like roses or thicker plant parts like succulent stems into half lengthwise to help them lay flat and dry out quicker.
Once you’ve obtained and prepared your plants, arrange them on a sheet of paper with roughly 2cm gaps in between each piece, then sandwich your arrangement either by folding your paper over or by placing another sheet of paper on top. While the flowers are being pressed, this paper will absorb any remaining moisture to dry them out quickly which helps to prevent browning. You can use most types of paper for this step, but popular choices include parchment paper, newspaper, or just your regular old A4 printer paper. Try not to use paper with rough textures, as these patterns will get imprinted onto your pressed flowers. Avoid waxed paper as well, as it is non-absorbent. Personally, I like to lay flowers and leaves with similar thicknesses together, so that the pressed plants turn out nice and even.
Now, let’s take a look at the four main methods of pressing your flowers!
Use books or a flower press to press your flowers slowly
The most traditional way to press your flowers is through the use of books. Place your sheets of paper with your flowers between two pages of a book, then close the book and stack more books or other heavy objects on top. Just ensure that you won’t be needing the books anytime soon, as this process can take from weeks to months! Use a book that you don’t mind getting damaged to place your flowers within, just in case the water from the flowers causes wrinkling of the book pages. Ensure that this book is also large enough to fully fit all the flowers within its borders, as any parts outside of the book won’t get pressed and will end up shrivelling up as they dry. Flowers with thinner petals are ready in about 2 weeks, while thicker flowers might take up to a month or more to be fully dried. The flowers should feel like fine tissue paper at the end of the process and will be quite delicate, so handle them with care.
A similar method would be to use a dedicated flower press, which you can either purchase from the store or make on your own. This is a good method if you can’t find any books that you don’t need or don’t mind getting damaged. To build your own DIY flower press, get two rectangular wooden boards of the same dimensions and drill a hole in each corner of each piece, ensuring that they align nicely when stacked on top of each other. Place your sheets of paper with your flowers between the stacked wooden boards, and use suitably-sized screws and nuts to secure the flower press. Just make sure not to tighten it too tightly or you may end up crushing and damaging your flowers. Just like the book method, it would take from weeks to months for your flowers to be ready when using your flower press.
Use heat to press your flowers quickly
The next two flower pressing methods involve some heating, so younger children may require some supervision if they want to try these methods.
If you’re too excited to wait for your flowers to dry slowly over a long period of time, you can try using a clothes iron to speed up this drying process. Start by using either the book or flower press method to flatten the flowers first. The flatter the flowers, the easier it will be to iron them. Next, remove the whole paper-flower sandwich and place it on an ironing board. Remember not to add water to your iron as you don’t want the flowers to get wet from the steam! At the lowest heat setting possible, gently press the iron on top of the paper-flower sandwich for about 10 seconds. Take note to keep it still and not to move it back and forth as if ironing clothes. Remove the iron and let it cool for 20 seconds before lifting up the paper to check on your flowers. Work in sections if needed and repeat the process until you get thin and dry pressed flowers!
You can also heat your flowers in a microwave to dry them. There are special microwave flower presses available on the market with vents that allow steam to escape for faster drying, but you can also make your own microwave press with two ceramic tiles and rubber bands. Again, start with either the book or flower press method to flatten the flowers first. Then, simply place the paper-flower sandwich in between the two tiles and tie them up with rubber bands to secure the DIY press. At the lowest temperature setting, microwave this for 30 seconds to 1 minute. Let it cool for 2 minutes before checking on your flowers. Repeat the heating and cooling process until the flowers are dry. If you don’t have ceramic tiles, you can use microwavable plates or trays instead, or use a book as a makeshift microwave flower press. It is important that the book doesn’t contain any metal pieces, so check the binding of your book for metal staples just to make sure.
Conclusion
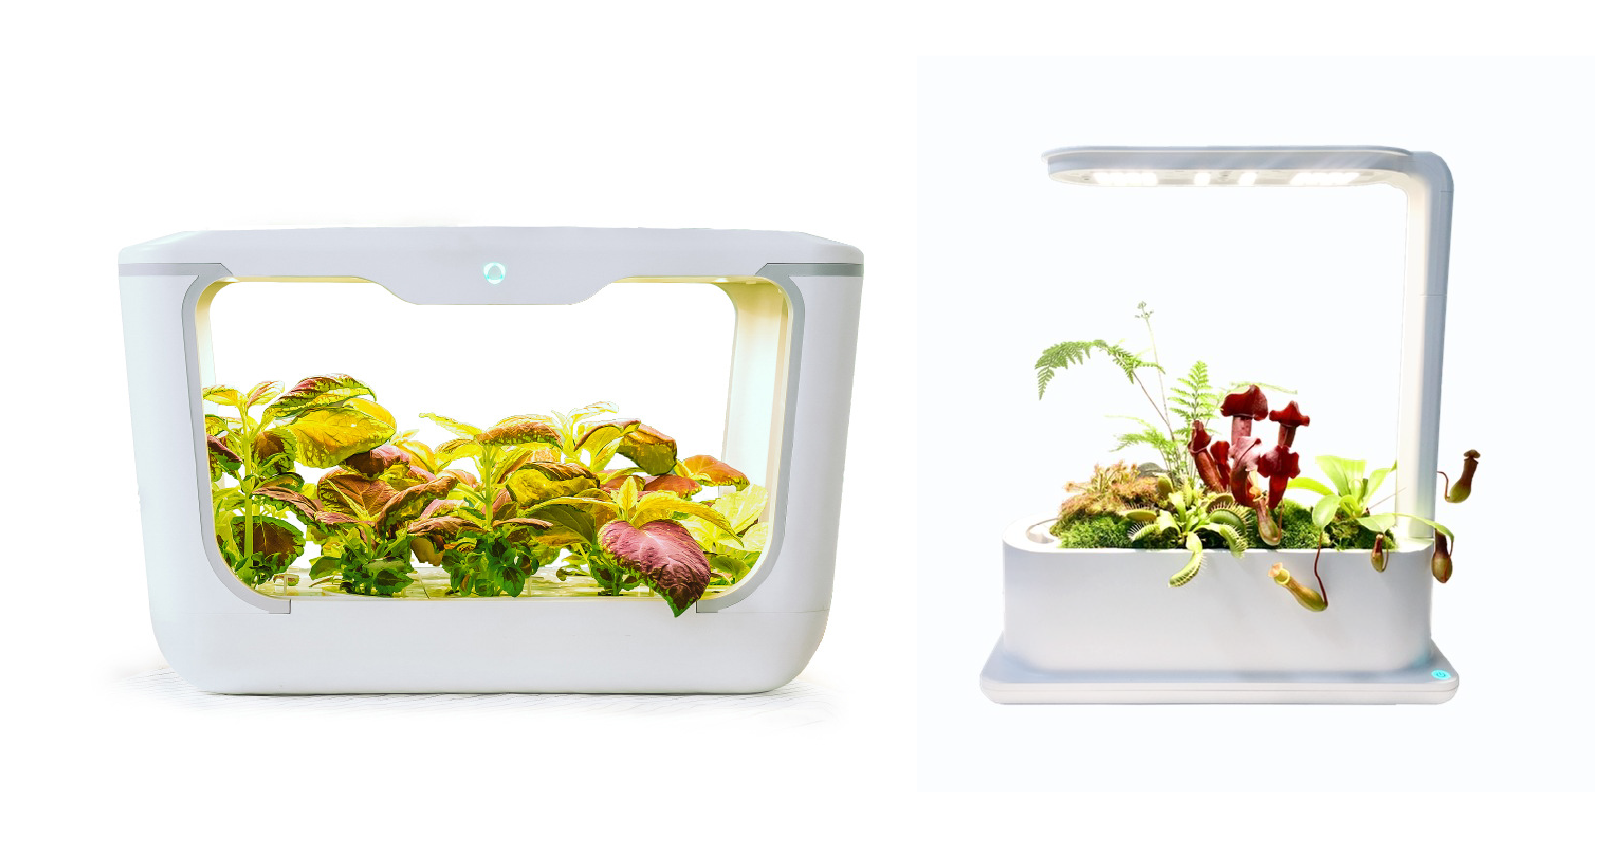
Phew! That was quite the journey we went on today, wasn’t it? I hope you learnt some useful stuff about flower pressing, and if you’re interested in trying it out for yourself with your own home-grown flowers, check out our Flora Bundle to get started on growing your own flowers in your indoorGreens hydroponics systems.
Happy flower pressing and never stop be-leafing! Sprowt out!